Every once in a while my family makes me socialize with other people. We recently attended a community benefit that required me to wear a tuxedo. It may come as some shock to you, but the reality is that I don’t normally have a lot of cufflinks on hand. While I could certainly go to the mall to get a pair in 15 minutes, I decided to spend the better part of an afternoon making my own.
I recently purchased a 3D printer, and it’s far exceeded my already lofty expectations in terms of its possibilities. It’s Maslow’s Hammer become real, because everything actually is a nail when your hammer has the ability to command matter into existence. Like most tools, there are constraints you need to work within, but spitting out cufflinks felt well within the envelope.
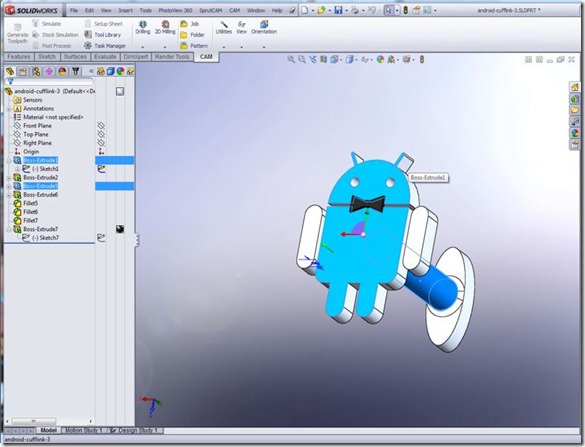
The first step is creating a 3D model of the object you want to print. I use a CAD package called SolidWorks, which is a bit complex but quite powerful once you get the hang of it. I was able to design something I was happy with in about an hour.
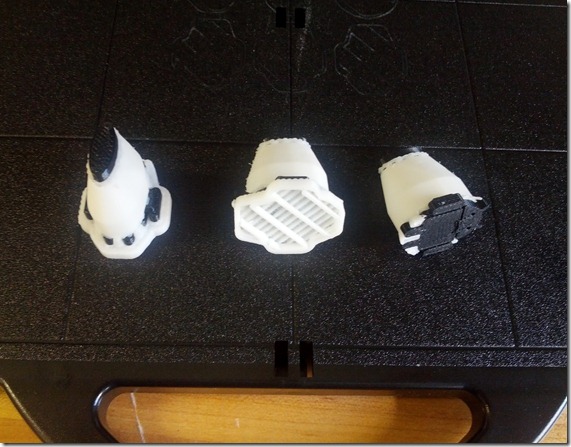
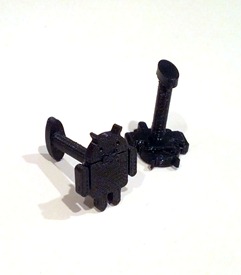
The printer creates objects using ABS plastic in one of a few solid colors like White, Black, Red, etc. The printer that I have also can print out support material to prop up parts of the model as needed during the build process. The photo below shows 3 of the cufflinks fresh out of the printer. the leftmost one is the orientation as printed. The middle one shows the support material “raft” on the bottom, and the final one shows the black plastic cufflink after I manually broke the raft off.
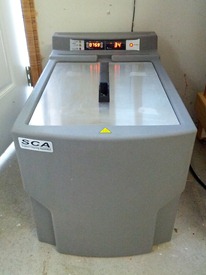
You can break away the support material with tools if you are patient and careful, but if you don’t mind waiting a while it’s far easier to dissolve it. I dropped the cufflinks into a heated agitation tank filled with lye and a few hours later the white support material was completely gone.
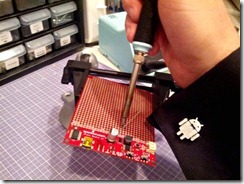
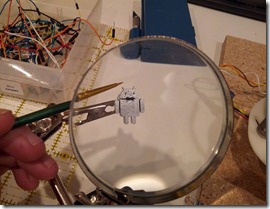
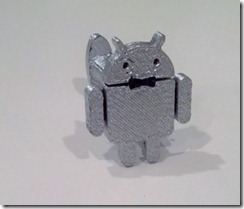
I was going to wear a black shirt, so I wanted the cufflinks to look silver. I spray painted two coats of Krylon Chrome spraypaint and it looked reasonably well from a distance. The final touch was to paint the bowtie black using some acrylic paint and a tiny brush.
The printer uses a process called FDM which creates a somewhat rough surface texture that is apparent in the close-up pictures. It’s possible to smooth out the surface by sanding and applying solvents, but I actually wanted a matte finish so the result was good as-is from the printer. At the party someone saw my cufflinks and asked if they were silver – achievement unlocked.
I’m sure I could make literally dozens of dollars selling these on Etsy, but instead I’ve published the design files so anyone can make a pair themselves. Even if you don’t have a 3D printer, there are sites like Shapeways or Ponoko that will print them for you for a fee. The design files can be found on Thingiverse. You can upload the file to Shapeways and print a pair in plastic for about US$7 or they’ll also gladly print them in silver for about US$100. If someone actually does that, I’d love to see some pictures!
