15
Aug 10

Corporate Art

IMG_0070

The company-for-which-I-used-to-work has quite a nice art collection. There is a wide variety of art in all the buildings ranging from paintings, prints, sculpture, mixed media, etc. I just ran across some photos I took about a year ago when I travelled to a remote office. This was a building that had just been finished and they commissioned some very cool artwork for it.

The first is an interactive multi-story LED wall that hangs from the atrium ceiling. At varying times of the day you will find different animations and other abstract graphics being displayed on the wall. It turns out that it’s interactive and uses microphones and video cameras to pick up input from the seating area in the atrium that sometimes affects what’s displayed.

I took some close-up pictures of the LED elements themselves from the second-floor walkway that goes closest to the wall. Unfortunately you can’t see much detail from the fuzzy mobile phone picture, but it consists of a series of discrete LED modules in long plastic tubes.
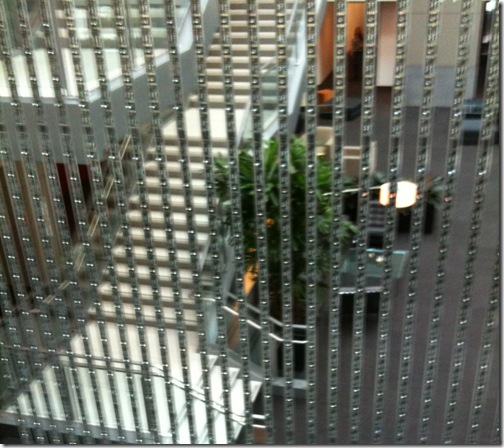
IMG_0071There was a particle effect animation running the day I was there. I’ve since seen a number of other animations and abstract images displayed there, some of which react to the sound and movement. The video below gives a decent idea of the size and bad-assedness of this installation.

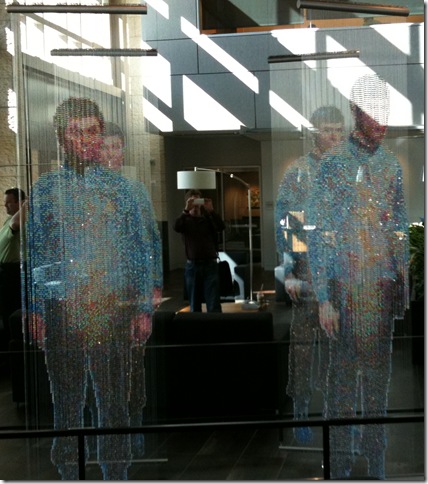
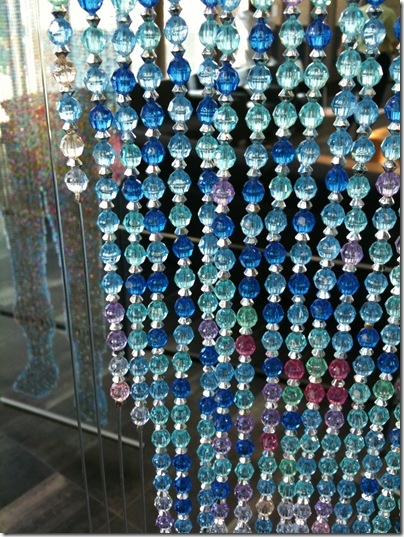
But my favorite by far is not the wall of LEDs, but rather a piece of artwork made from beads. No, my blog password was not stolen by a 70 year old cat lady. I was truly awestruck when I saw the bead art in the lobby, as it presses a couple of my joy buttons simultaneously. First, it’s got the “things as pixels” vibe going on. The pictures are essentially 2D raster graphics rendered with 5mm acrylic beads strung on fishing wire. Second, it’s subject matter is Star Trek. And finally it uses the constraints of the medium to its advantage – the semi-transparent beads used to capture an image of Kirk, Spock and McCoy materializing in the Transporter.

IMG_0068

The photo doesn’t do it justice. From afar the shimmering images are stunning and very realistic looking, while close up they turn abstract and all you can see is the process and materials. I’m not sure why the artist decided to use the metal spacers between the beads – perhaps to make it more transparent? Or maybe to make the pixels have a square aspect ratio? The spacers make the vertical distance between “pixels” approximately the same as the horizontal distance.

IMG_0069

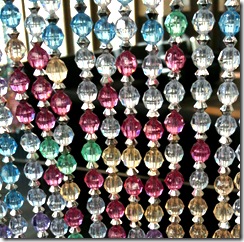
I’m not above stealing a fantastic idea like this, and bought a bunch of acrylic faceted beads which I sorted by color with the help of my family. I haven’t gotten around to doing one yet, but hope to soon.
15
Aug 10

It’s A Good Life

It's_A_Good_Life

One of my favorite episodes of The Twilight Zone is “It’s a Good Life.” In it, Billy Mumy plays a 6-year old with godlike powers. Anything he can think of he can instantly materialize and transform, whether they be objects, animals or even some unfortunate people. Whether it’s a gopher with two heads, a jack-in-the-box toy made out of one of the neighbors, or an impromptu snow-storm, all Billy has to do is imagine it and it happens.

Rapid prototyping and personal fabrication technologies are creating a Good Life for all of us. The path from idea to physical object is becoming shorter and cheaper, with sub-$1000 3D printers and afforable CNC machines of ever-increasing quality. While not quite godlike and far less terrifying, the power to imagine an object and hold it in your hand 30 minutes later is quite awesome. Here’s an example from today.

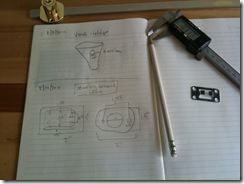
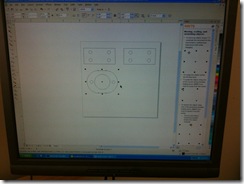
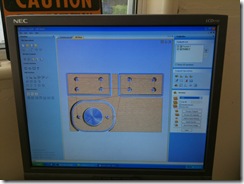
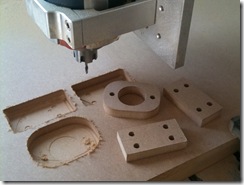
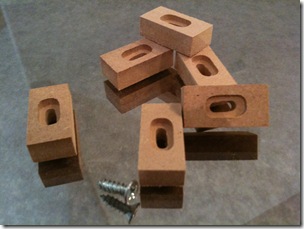
One of my Saturday chores was to add a lock to a set of drawers. I purchased a generic lock assembly, but it didn’t quite fit the piece of furniture I was working with. I needed to assemble some standoffs and drawer tabs to make it work. I took a few measurements, drew the design in a CAD program, turned it into toolpaths with a CAM program and then cut it on a CNC router. Measure, Draw, CAM, Cut…the 4 steps are shown below.

IMG_0365 IMG_0367

IMG_0366 IMG_0372

The process could be streamlined significantly. The conversion of my CAD drawing to gcode in a CAM program always feels like a tedious and unnecessary step. It’s the part where you specify important cutting parameters like speed, size of your tool, etc. so it is truly necessary but I can’t help but wonder how most of this info couldn’t be captured in the drawing itself. What I want to do is simply “Print” from the drawing program and get an object out of it. The interface to Epilog laser cutters is like this and it feels very natural.

IMG_0375Minor complaints aside, it’s very empowering. Since you can knock out test parts quickly, it’s not the end of the world when something doesn’t fit quite right. I had to wish a few early designs into the cornfield today, but was able to iterate 3 versions on the most important parts within the span of an hour or so. The tolerances for the locking tabs on each drawer were very tight, and I was able to build something that was exactly what I needed without having to drive all over town looking for it. The width and thickness of the tabs had to be very precise to engage the locking mechanism while still allowing the drawers to close. I was able to do this and have a recessed slot so the screws would sit flush. In fact, the job took longer because of old habits. I spent half an hour looking for angle brackets or other parts I could use because it would be “easier” than fabbing some up. None of the existing things worked, but the custom parts came together quickly and performed just as well.

To my knowledge there’s no Gopher extruder available for the Makerbot yet, so nothing particularly menacing is likely to come from your local fablab. But just in case be sure to think only happy thoughts and be careful not to sing.