28
Feb 11

Not Actual Size

peepers-big-sharp

When I was younger I was a big fan of Peter Sellers in The Pink Panther as Chief Inspector Clouseau. One of my favorite running gags was his butler, Cato, who in addition to answering the phone and preparing meals was also responsible for attacking Clouseau without warning. These attacks were designed to keep Clouseau vigilant and in fighting shape, and there were many epic battles between them. Several decades later I’ve come to realize that I have my own personal Cato in the form of my cat. Our cat is sweet and loving with everyone else in the family, but with me her favorite thing to do is attack me when I least expect it. She will literally wait by the door for hours and when I come home she jumps at me with her back arched waiting to be chased around the house. Like Clouseau, I am responsible for my attacker’s behavior – having trained her to attack me with our games.

A Heartless Killing Machine

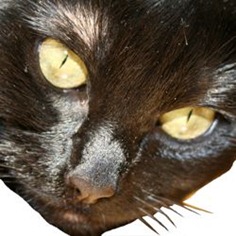
As a result, when I think of the cat I don’t think of a cuddly little pet but rather a vicious killing machine. My wife took a picture of her that captures the cold depths of the cat’s evil soul and I really like it. So I decided to make a big version of it to hang on the wall using my CNC router and some custom software I wrote.

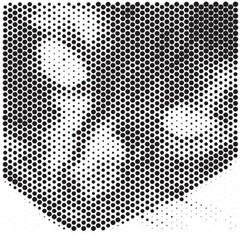
The idea was to do a halftone-style picture by cutting circles of varying size in a panel of wood that would show through a black background. I modified my Paper Pixels software to take a picture of the cat and sample the average brightness in a grid pattern and then turn this into an array of circles. Large circles for dark areas (which thus show more of the black background) and small circles for light areas (which thus show the light birch wood I was planning to use). The picture on the left below is the original image I started with and the one on the right it the output after my software processed it.

peepers-originalpeepers-circles

We Love Constraints

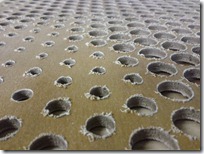
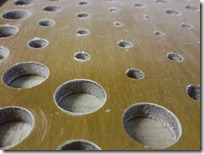
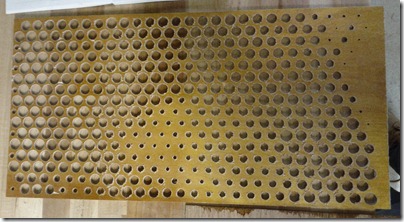
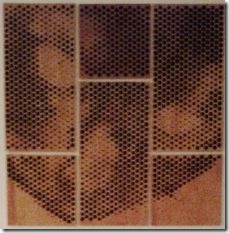
My CNC router has a table size of 24” x 16” and I wanted the resulting picture to be larger than that. I was going for 3 feet square, so I chopped the picture up into 6s panels of different sizes that I would assemble to make the finished picture. I’ve spoken many times about the fact that constraints like these can be used to improve the result. So rather than try to hide the fact that I cut the image up I accented it by splitting the panels up with space between them. I used 1/4” thick birch plywood sheets and finished them with several coats of amber Shellac to give a nice warm color. Then I cut each panel out with the router, after producing toolpaths with CAM software. Some of the holes ended up with ragged edges depending on how worn the tool was but some light sanding fixed things up quickly.

IMG_20110108_164322IMG_20110108_164354

IMG_20110108_164307

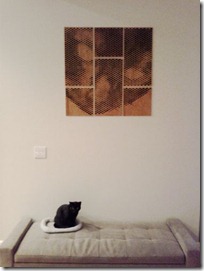
Once all 6 panels were cut, I sprayed the back with tacky adhesive from the local art supply store and glued thick black posterboard to the back. I mounted the panels to the wall right above the bed where the cat sleeps. The result is a nice combination of a geometric/abstract form with a somewhat photographic effect the further away you get from it.
peepers-small


15
Aug 10

Corporate Art

IMG_0070

The company-for-which-I-used-to-work has quite a nice art collection. There is a wide variety of art in all the buildings ranging from paintings, prints, sculpture, mixed media, etc. I just ran across some photos I took about a year ago when I travelled to a remote office. This was a building that had just been finished and they commissioned some very cool artwork for it.

The first is an interactive multi-story LED wall that hangs from the atrium ceiling. At varying times of the day you will find different animations and other abstract graphics being displayed on the wall. It turns out that it’s interactive and uses microphones and video cameras to pick up input from the seating area in the atrium that sometimes affects what’s displayed.

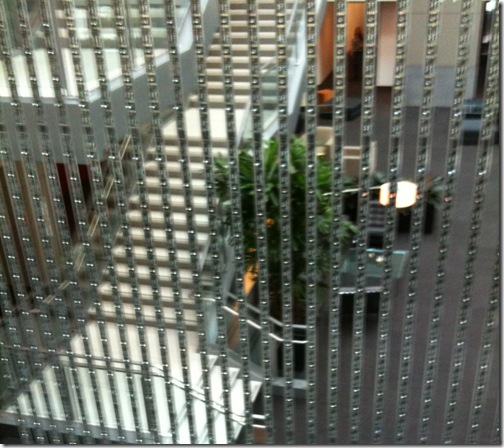
I took some close-up pictures of the LED elements themselves from the second-floor walkway that goes closest to the wall. Unfortunately you can’t see much detail from the fuzzy mobile phone picture, but it consists of a series of discrete LED modules in long plastic tubes.

IMG_0071There was a particle effect animation running the day I was there. I’ve since seen a number of other animations and abstract images displayed there, some of which react to the sound and movement. The video below gives a decent idea of the size and bad-assedness of this installation.

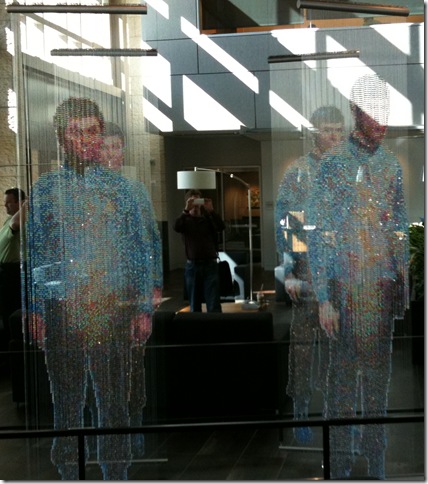
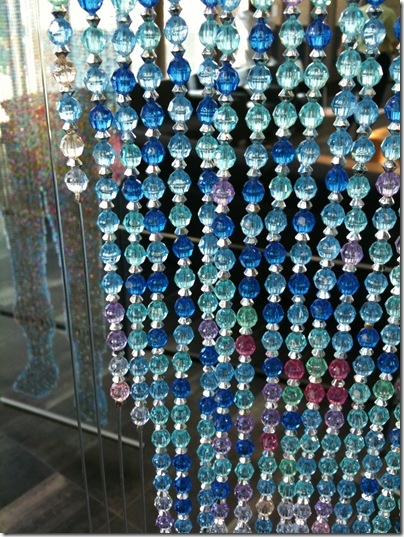
But my favorite by far is not the wall of LEDs, but rather a piece of artwork made from beads. No, my blog password was not stolen by a 70 year old cat lady. I was truly awestruck when I saw the bead art in the lobby, as it presses a couple of my joy buttons simultaneously. First, it’s got the “things as pixels” vibe going on. The pictures are essentially 2D raster graphics rendered with 5mm acrylic beads strung on fishing wire. Second, it’s subject matter is Star Trek. And finally it uses the constraints of the medium to its advantage – the semi-transparent beads used to capture an image of Kirk, Spock and McCoy materializing in the Transporter.

IMG_0068

The photo doesn’t do it justice. From afar the shimmering images are stunning and very realistic looking, while close up they turn abstract and all you can see is the process and materials. I’m not sure why the artist decided to use the metal spacers between the beads – perhaps to make it more transparent? Or maybe to make the pixels have a square aspect ratio? The spacers make the vertical distance between “pixels” approximately the same as the horizontal distance.

IMG_0069

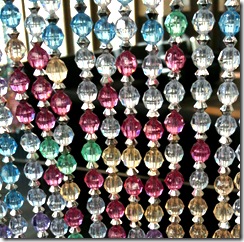
I’m not above stealing a fantastic idea like this, and bought a bunch of acrylic faceted beads which I sorted by color with the help of my family. I haven’t gotten around to doing one yet, but hope to soon.


20
Dec 09

3D Paper Objects

IMG_0086

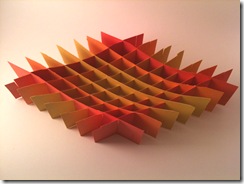
This is the result of my first experiment making a sliceform object from interlocking pieces of cut cardstock. I got the idea and the name “sliceform” from a variety of folks on the web who are experimenting with this. Just as I was posting this I discovered these pictures on flickr from someone with the exact same colors of cardstock.

Mine were cut from 4 colors of cardstock. I wrote a program to calculate the slice outlines and write them out as vector files. These files were then sent to a Craft Robo CNC paper cutter to cut the forms from cardstock. The design was a slab with a parabolic bowl cut from the top. The math was easy for this shape, but in the future I’d like to try some more ambitious shapes.

Here’s a video showing how the object moves and bends.